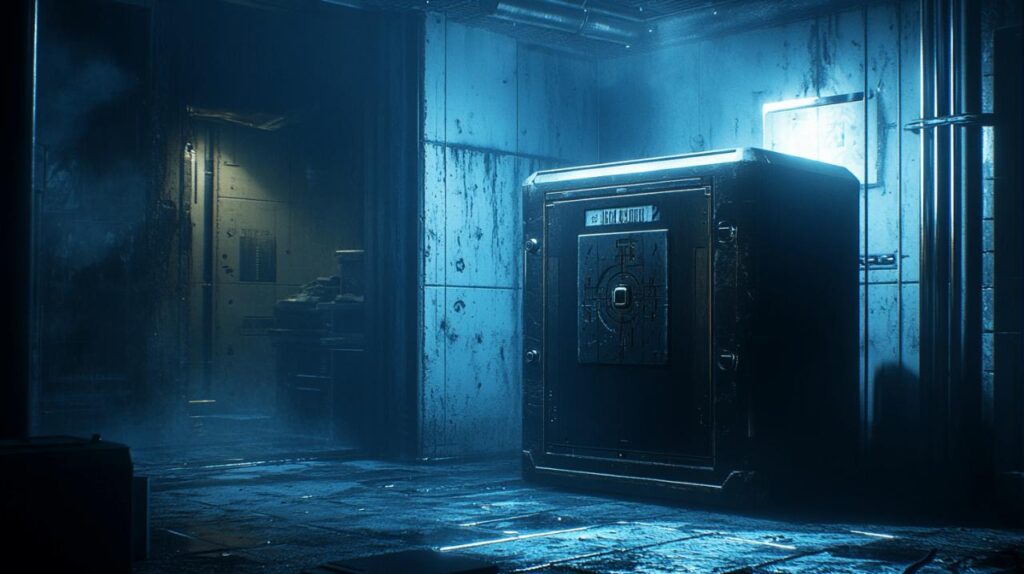
Navigating through the dark corridors of Resident Evil 2 Remake, you'll encounter various safes containing valuable resources to aid your survival. Knowing where these safes are located and how to unlock them can significantly improve your chances of making it through this horror adventure. This guide will walk you through finding every safe in the game without missing any crucial items.
Locating all safes in resident evil 2
Throughout Resident Evil 2, both Leon Kennedy and Claire Redfield will encounter several safes and locked containers that hold essential items like inventory expansions and weapon modifications. Finding these safes requires thorough exploration of the game world, from the zombie-infested police station to the damp sewers below.
Police station safe locations
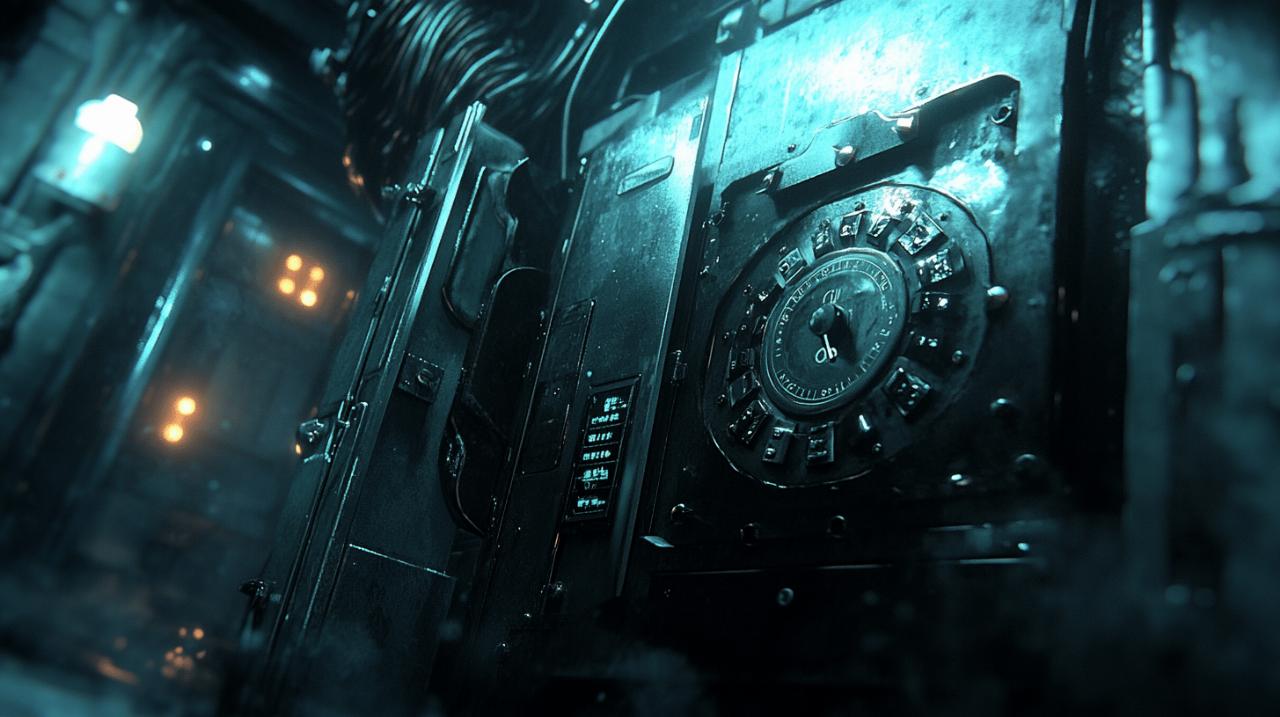
The police station contains two main safes and several other locked containers. The West Office safe is located on the first floor and requires the combination Left 9, Right 15, Left 7. Successfully opening this safe rewards you with a Hip Pouch that expands your inventory space. The Waiting Room safe can be found on the second floor with the combination Left 6, Right 2, Left 11. Leon will receive a Muzzle Break for the Matilda handgun, while Claire gets a High-Capacity Magazine for her JMB HP3. The station also houses two portable safes – one in the Locker Room on the second floor and another in the Linen Room. Solving these yields Spare Keys for the Safety Deposit Room, which can be used to access locker 203 for yet another Hip Pouch.
Sewer and laboratory safe positions
As you progress deeper into the game, you'll discover more locked containers in the sewers and laboratory areas. The Treatment Pool Room in the sewers contains a safe with the combination Left 2, Right 12, Left 8. Leon can obtain a Shotgun Stock for the W-870 from this safe, significantly improving the weapon's handling. The Sewer Locker Control Room features a dial lock with the code SZF. The laboratory area presents more complex puzzles, including the Greenhouse Control Room with various codes depending on whether you're playing the first or second run. Careful exploration of these areas is essential, as they contain valuable resources that can make your survival much easier against threats like Mr. X Tyrant.
Finding safe combinations throughout the game
Navigating through Resident Evil 2 Remake requires careful exploration to discover vital safe combinations that unlock valuable resources. These safes are strategically placed throughout key locations including the police station and sewers. Each safe contains essential items that expand your inventory or improve weapons, making them worth the effort to locate and unlock.
For a complete novice, understanding how to find and decipher these combinations is crucial for maximizing your survival chances against the zombie hordes. The game cleverly hides these codes in various documents, environmental details, and character interactions that demand your attention.
Document and note examination techniques
When searching for safe combinations in Resident Evil 2 Remake, examining every document you find is essential. The West Office safe requires the combination Left 9, Right 15, Left 7, rewarding you with a Hip Pouch to expand your limited inventory space. Similarly, the Waiting Room safe (Left 6, Right 2, Left 11) yields a Muzzle Break for Leon's Matilda or a High-Capacity Magazine for Claire's JMB HP3.
Beyond safes, you'll encounter various locks throughout the game. The dial locks use letter combinations rather than numbers – for instance, the 3F Stairs requires 'DCM' while the Men's Locker Room needs 'CAP.' For Leon's desk in the West Office, you'll need to input 'NED' for the left lock and 'MRG' for the right one. Stay vigilant about notes scribbled on walls, memos left behind, and official documents that may contain these critical codes.
Character clues and environmental hints
The environment itself often provides subtle hints about combinations. The Treatment Pool Room safe (Left 2, Right 12, Left 8) rewards Leon with a valuable Shotgun Stock for the W-870. Statue puzzles appear throughout the game with different solutions depending on whether you're playing a first or second run. For example, the Lion Statue uses the combination Lion, Leafy Branch, Bird during your first run, but changes to Crown, Torch, Bird for subsequent playthroughs.
Portable safes present a unique challenge as they feature randomized combinations in some cases. The first Portable Safe in the Locker Room yields specific solutions (43675218 for Leon, 85137542 for Claire), while the second in the Linen Room requires solving through process of elimination. Successfully unlocking both portable safes grants you Spare Keys for the Safety Deposit Room, allowing access to locker 203 for another inventory-expanding Hip Pouch. While exploring the police station, sewers, and other locations, take time to thoroughly examine rooms, interact with objects, and pay close attention to any unusual markings or symbols that might indicate a nearby code.
Rewards and Benefits from Successfully Opened Safes
Opening safes in Resident Evil 2 Remake provides crucial resources that can significantly impact your survival chances. Each safe contains valuable items that aid both Leon Kennedy and Claire Redfield throughout their harrowing journey through Raccoon City. Finding and unlocking these safes should be a priority for players looking to maximize their chances of survival against the zombie outbreak.
Weapons and ammunition rewards
Successfully cracking safe combinations yields substantial weaponry upgrades that enhance combat effectiveness. The West Office safe (9 Left, 15 Right, 7 Left) rewards players with a Hip Pouch, expanding your limited inventory space. This expansion is vital for carrying additional weapons and supplies during critical encounters.
The Waiting Room safe (6 Left, 2 Right, 11 Left) offers character-specific weapon modifications – Leon receives a Muzzle Break for the Matilda handgun, while Claire gains a High-Capacity Magazine for her JMB HP3. These modifications improve weapon performance when facing multiple enemies or powerful adversaries like Mr. X Tyrant.
Leon players who unlock the Treatment Pool Room safe (2 Left, 12 Right, 8 Left) will obtain the valuable Shotgun Stock for the W-870, significantly improving stability and combat effectiveness of this powerful weapon. These weapon enhancements prove essential when navigating dangerous areas like the police station sewers.
Special items and resource management
Beyond weapons, safes contain unique items that directly impact resource management. The portable safes found in the Locker Room and Linen Room on the Police Station 2F yield Spare Keys necessary to access locker 203 in the Safety Deposit Room, which contains another Hip Pouch. These inventory expansions allow players to carry more healing items, ammunition, and puzzle components without constantly returning to storage boxes.
Lockers secured with dial locks also hide valuable resources. The Men's Locker Room dial lock (CAP) and the 3F Stairs dial lock (DCM) contain supplies that help conserve ammunition during tense encounters. The Sewer Locker Control Room dial lock (SZF) provides items useful for navigating the later stages of the game.
Unlocking statue puzzles like the Lion, Unicorn, and Maiden statues grants access to previously blocked areas containing maps, Mr. Raccoon collectibles, and key puzzle items needed for story progression. Mastering these combinations ensures you won't miss critical resources that make survival possible during the most challenging segments of Resident Evil 2 Remake.
Integrating safe hunting into your survival strategy
 Safe hunting in Resident Evil 2 Remake is more than just finding extra items—it's a crucial part of your survival strategy that rewards you with inventory expansions and weapon upgrades. Unlocking every safe requires careful exploration and attention to detail as you navigate through Raccoon City's dangerous environments.
The game features three main safes with set combinations, along with portable safes and various locks that need specific codes. Each successful unlock provides valuable resources that can significantly improve your chances of survival against the undead horrors.
Prioritizing safe access based on game progression
When playing as either Leon Kennedy or Claire Redfield, targeting safes in the right order maximizes your survival potential:
Start with the West Office Safe (9 Left, 15 Right, 7 Left) to obtain a Hip Pouch for inventory expansion. This should be a priority early in your police station exploration, as carrying more items becomes immediately beneficial.
Next, locate the Waiting Room Safe (6 Left, 2 Right, 11 Left) which rewards Leon with a Muzzle Break for the Matilda handgun or Claire with a High-Capacity Magazine for the JMB HP3. These weapon upgrades prove invaluable when facing tougher enemies.
Once you reach the sewers, make time to find the Treatment Pool Room Safe (2 Left, 12 Right, 8 Left). Leon receives a Shotgun Stock for the W-870, making this weapon significantly more effective.
Don't overlook the portable safes in the Locker Room and Linen Room on the Police Station's second floor. Solving both yields Spare Keys for the Safety Deposit Room, which ultimately unlocks locker 203 containing another Hip Pouch.
Balancing exploration and tyrant evasion during safe searches
Searching for safes requires careful planning, especially when Mr. X Tyrant begins stalking the police station. Map familiarity becomes your greatest asset during these tense moments.
Use save rooms and lulls in Tyrant activity to check codes and plan your routes. The statue puzzles require specific combinations—Lion Statue (Lion, Leafy Branch, Bird in first run; Crown, Torch, Bird in second), Unicorn Statue (Fish, Scorpion, Vase in first run; Two People, Scales, Uncoiled Snake in second), and Maiden Statue (Woman, Bow, Snake in first run; Ram, Harp, Bird in second).
When dealing with dial locks, remember these quick combinations: 3F Stairs uses DCM, Men's Locker Room requires CAP, and the Sewer Locker Control Room needs SZF. Memorizing these saves precious seconds when Mr. X is nearby.
Desk locks also contain valuable items—Leon's desk in the West Office requires NED for the left lock and MRG for the right. These small detours provide ammunition and healing items that might save your life later.
The Greenhouse puzzles present unique challenges with different codes between first and second runs. Take screenshots or notes of solution patterns when you discover them to avoid backtracking through dangerous areas.
Master the chess plug puzzle in the Sewer Monitor Room by arranging pieces correctly: King, Queen, Pawn, Bishop, Rook, Knight in your first run or Knight, Rook, Pawn, Queen, Bishop, King during your second playthrough.
Remember that timing your safe hunts around Mr. X's movements creates breathing room for puzzle-solving. Listen for his footsteps and plan accordingly—sometimes waiting in a safe room until he moves to another area proves wiser than rushing through combinations while he's nearby.